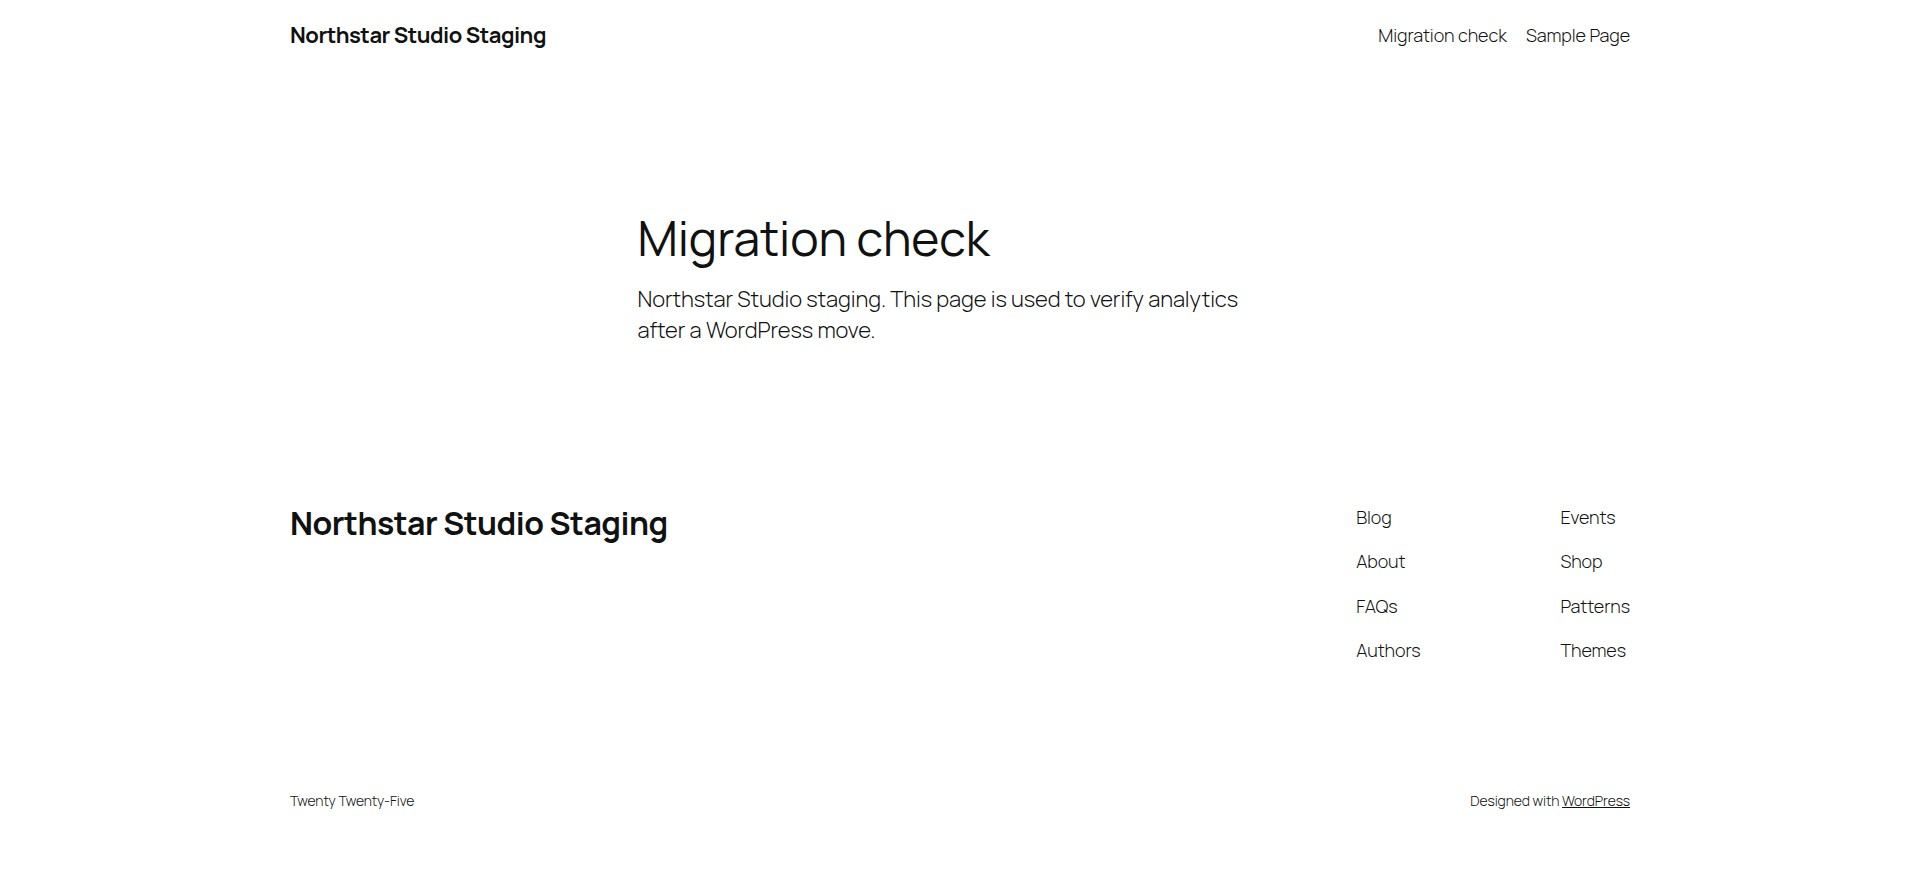
The new WordPress site looks right, the pages load, and your migration checklist is nearly done. Before you hand it back, open one page as a visitor and make sure the visit appears under the right website in Hitsteps.
Start on a staging copy you’re authorized to test. Use a separate Hitsteps site for staging so the test stays out of your live reports.
1. Check which WordPress site you’re looking at
Open a shell in the WordPress install on the destination host. Replace the example URL with your staging site’s public-facing address. The --url flag sets the site context for WP-CLI. Your shell still needs to be on the right host and in the right WordPress directory.
site='http://127.0.0.1:18056'
wp --url="$site" option get home
wp --url="$site" option get siteurl
wp --url="$site" eval 'echo wp_get_environment_type(), PHP_EOL;'
wp --url="$site" plugin list --name=hitsteps-visitor-manager --fields=name,status,version
home is the address visitors open. siteurl is the address of the WordPress installation and can include a subdirectory. Compare both against your migration plan, check the environment label, and look for the active Hitsteps plugin. If a value points to the old host or the wrong copy, resolve that before you change any analytics settings.
In WordPress admin, go to Settings → Hitsteps. Confirm the plugin is connected to the staging website you’ll select in My Sites. If the copy inherited a live-site connection, follow the WordPress setup guide to connect the staging site. Keep the API key in the plugin settings and use one Hitsteps installation method per page.
2. Check the page a visitor actually receives
Choose a page that loads without a WordPress login. Use the page URL below as a template and substitute a path on your staging site.
check_url="$site/migration-check/"
page_html=$(mktemp)
curl -fsSL -o "$page_html" -w 'HTTP %{http_code} %{url_effective}\n' "$check_url"
grep -oE 'https?://edgecdnplus\.com/code' "$page_html" | sort -u
rm -- "$page_html"
Check that the final URL belongs to staging and the response contains the Hitsteps loader address. If you land on the old domain, check your redirect settings first. If the loader is missing, revisit the plugin connection and purge any WordPress, host or CDN cache that could still be serving the old page.
The source check finds the loader address in the HTML. During the browser check below, look for the Hitsteps /code script in the Network panel. You can also use Refresh activation status under the website’s Settings → Tracking Code when that control is available.
3. Find one test visit in Hitsteps
Open that page once in a private browser window with no WordPress login. Use a browser session where tracking is allowed and follow the site’s normal consent prompts. Note the page path and time, then select the staging website in Hitsteps and look for that visit on the live dashboard or under Recent visitors.
Tag loaded means the browser fetched the tracker or Hitsteps observed the script load. Visit recorded means the page appeared in visitor activity for the correct website. If all you have is activation status, check the selected website, the time range, any own-visit exclusions, and the browser’s console and Network panel for blocked requests.
In our local Northstar Studio Staging example, WordPress returned HTTP 200 and the Hitsteps script was observed while the site still had zero pageviews. One signed-out browser visit to /migration-check/ then produced one stored pageview for that same path. The example used a disposable site and local Hitsteps intake.