Update: Starting 9th November 2016, Cloudflare will no longer support API v1 which we’ve used in this post. You may look for migrating to v4 and example scripts such as lyoshenka’s great work 😉
Howver you can read our explaination below to figure out how we achieve Failover using CloudFlare service
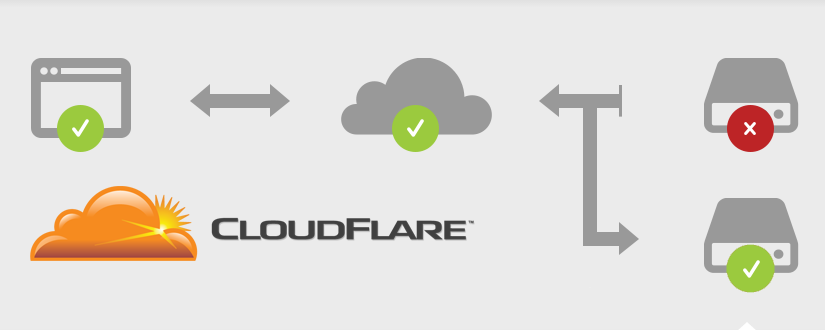
We use Cloudflare for our service and we use it to have server switchover or failover in case our main server go down, and it been working perfectly ever since!
Wouldn’t it be perfect to have a DNS failover, saving costs by avoiding a hardware and also reduce risk of having main load balancer go down? It is possible to have DNS Load balancing by having two IP Addresses point to same record A, but we go for it in another article.
In this article we will cover how to have CloudFlare perform automatic IP failover for your servers, so in case main server go down, backup server kick in.
Please note for this to work seamlessly, you need your backup server be exactly same as main server. You can achieve this by having MySQL replicated and file system synced using lsyncd. You can also have your backup server show a temporarily message.
If you were to use a real DNS to set IP, it would take hours for new IP to apply to DNS servers around globe, and your visitors would still get pointed to crashed server but not with Cloudflare. new DNS will kick in less than few minutes (1min approx, and max 5mins)
You will need to run monit server in your backup server, ideally you can run monit on a separate server which only have monit server on it. You can get a simple and budget friendly vps linux cloud server from vpsdime and have it check status of your main server.
Let’s cut it short and get to instructions!
Please get your API key from Cloudflare. You can get it from Account tab in cloudflare. Cloudflare is free!
Then you need to shell scripts, one to change IP to backup, and one to change IP to main. Here we have provided both scripts for you. You can download them HERE and set appropriate configs into both files (IP addresses, cloudflare key, email address…)
You need to upload files in your backup server, in this example we use folder /hitsteps/cloudflare/
type in ssh console:
mkdir /hitsteps/
mkdir /hitsteps/cloudflare/
and then upload configured files there.
Make sure you give execute permission to this two files:
chmod +x /hitsteps/cloudflare/*.sh
Now, you need to install monit in your backup server:
yum install monit (or apt-get install monit)
and configure your monit to check your main server status by editing /etc/monit or /etc/monitrc and add following lines to end of it, edit 0.0.0.0 with your main server IP address and change alert email address to your address:
check host 0.0.0.0 with address 0.0.0.0
alert your@email.com
if failed icmp type echo count 3 with timeout 3 seconds for 2 cycles then exec "/bin/bash -c /hitsteps/cloudflare/tobackup.sh"
else if succeeded for 2 cycles then exec "/bin/bash -c /hitsteps/cloudflare/tomain.sh"
if failed url http://0.0.0.0/ with timeout 20 seconds and retry 2 for 2 cycles then exec "/bin/bash -c /hitsteps/cloudflare/tobackup.sh"
#else if succeeded for 2 cycles then exec "/bin/bash -c /hitsteps/cloudflare/tomain.sh"
Now you need to restart monit, and make sure it run on startup:
service monit restart
chkconfig monit on
Guess what? It is all ready! You’ve just setup an auto IP Fail Over using Cloudflare.
Now, monit will check status of your main server by pinging it, if ping failed for 3 times on 3 cycles, then it will fire tobackup.sh file, same will happen if it cannot access webserver for 2 times.
Once server is accessible, it will run tomain.sh.
tobackup.sh will connect to cloudflare API and change your domain IP addresses to backup server. this change usually apply in less than 1 minute by our experience. monit will keep monitor your main server status and change IP back once it is accessible again.
As a sidenote, your cloudflare folder which contain scripts should have write permission because it will write logs into it. you also need to have following apps installed in your linux box for tomain.sh and tobackup.sh parse cloudflare API correctly: bc, cut, curl, sed, head, python
yum install python bc cut curl sed head
Do you have any suggestion to enhance this script? or any feedback? Please do let us know!