Real websites के लिए maintained
Hitsteps website platforms, browser changes, analytics shifts और store workflows के साथ evolve होता रहा है।
Hitsteps integrations
Hitsteps को वहीं इंस्टॉल करें जहाँ आपकी वेबसाइट चलती है। अपना प्लेटफ़ॉर्म चुनें और एक Hitsteps खाते से लाइव एनालिटिक्स, विज़िटर प्रोफ़ाइल, चैट, सेगमेंट और अपटाइम निगरानी के लिए केंद्रित सेटअप गाइड का पालन करें।
Quick start
Create a Hitsteps account or open your existing account, then add the site you want to track.
Most plugins need the API key. Manual installs usually need the full JavaScript tracking code.
Open your dashboard and visit your website. Your online visitor should appear without waiting for a batch report.
Hitsteps क्यों install करें
Free analytics tags reports के लिए useful हैं। Hitsteps उस पल के लिए है जब installation के बाद आपको live visitor identity, behavior context, chat, uptime awareness और clear next action चाहिए।
setup के बाद अपनी website खोलें और delayed reporting का इंतजार करने के बजाय live dashboard में अपना session confirm करें।
visitor profiles, referrers, heatmaps, pages, campaigns, devices और returning visitor history को एक जगह इस्तेमाल करें।
Bring live chat, Segment notifications, uptime checks, and desktop/mobile workflows close to the team using the data.
जब आपको live visitor context, practical installation routes और existing traffic के आसपास action tools चाहिए हों, तब इसे use करें.
Hitsteps website platforms, browser changes, analytics shifts और store workflows के साथ evolve होता रहा है।
WordPress, Shopify, Wix, Google Tag Manager, HTML, CMS, commerce, browser और desktop setup paths एक hub से documented हैं।
Tracking install होने के बाद live dashboard, visitor profiles, heatmaps, chat, सेगमेंट, uptime, reports और alerts connected रहते हैं।

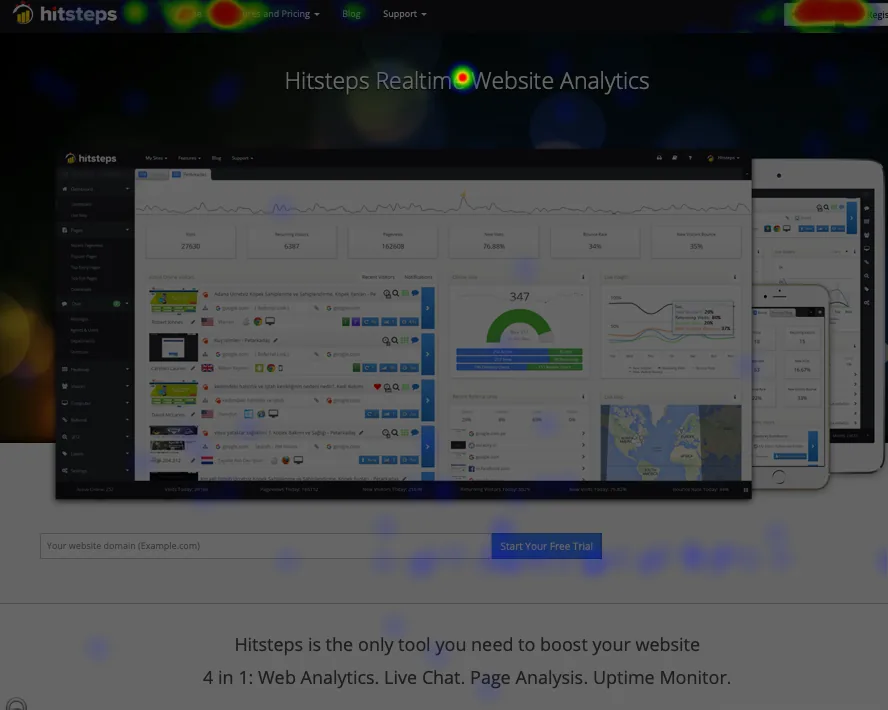

Setup guides
Each guide explains what to copy, where to paste it, and how to confirm Hitsteps is receiving data.

Install from your WordPress admin, add the API key, and see live visitors, Search Console performance, and visitor context from your dashboard.

Connect Hitsteps with your Shopify store, live visitor activity, ecommerce insights, and chat tools.

Joomla package download करें, plugin enable करें और अपनी Hitsteps API key जोड़ें।
जब आप site templates edit नहीं करना चाहते, तो GTM tag template से Hitsteps जोड़ें।

अपने pages या shared footer के closing body tag से पहले Hitsteps tracking code paste करें।

Connect MCP-compatible assistants to Hitsteps analytics, sites, uptime, alerts, goals, Mentions, and chat tools with scoped OAuth access.

Connect Hitsteps to Grafana Infinity, import the dashboard JSON, and explore aggregate traffic, Segments, Funnels, and more.

automatic setup, billing और reinstall repair के लिए Wix app से connect करें; fallback के रूप में HTML embed उपलब्ध है।

chat, quick dashboard access और desktop notifications के लिए अपनी team online रखें।

A desktop overview app for live activity, chat, and Segment notifications.

Hitsteps overview और real-time notifications के लिए macOS menu bar companion.

iPhone, iPad और Android पर live visitors, alerts और website analytics साथ रखें।

module install करें, अपनी API key paste करें, और store visitors track करना शुरू करें।

अपने blog layout में दिखने वाले Blogger HTML/JavaScript gadget से Hitsteps जोड़ें।

Paste the tracking code into your Tumblr theme customization area.

tracking code को Zen Cart footer template में जोड़ें ताकि हर page track हो।

active phpBB footer template में Hitsteps जोड़ें और forum visitors को real time में monitor करें।

Use a shared page template or block placement to run Hitsteps across Drupal pages.
Create your Hitsteps site profile, copy your API key, and verify tracking.
Use the HTML tracking code guide for any custom site, static site, landing page builder, or platform that lets you edit a shared footer.